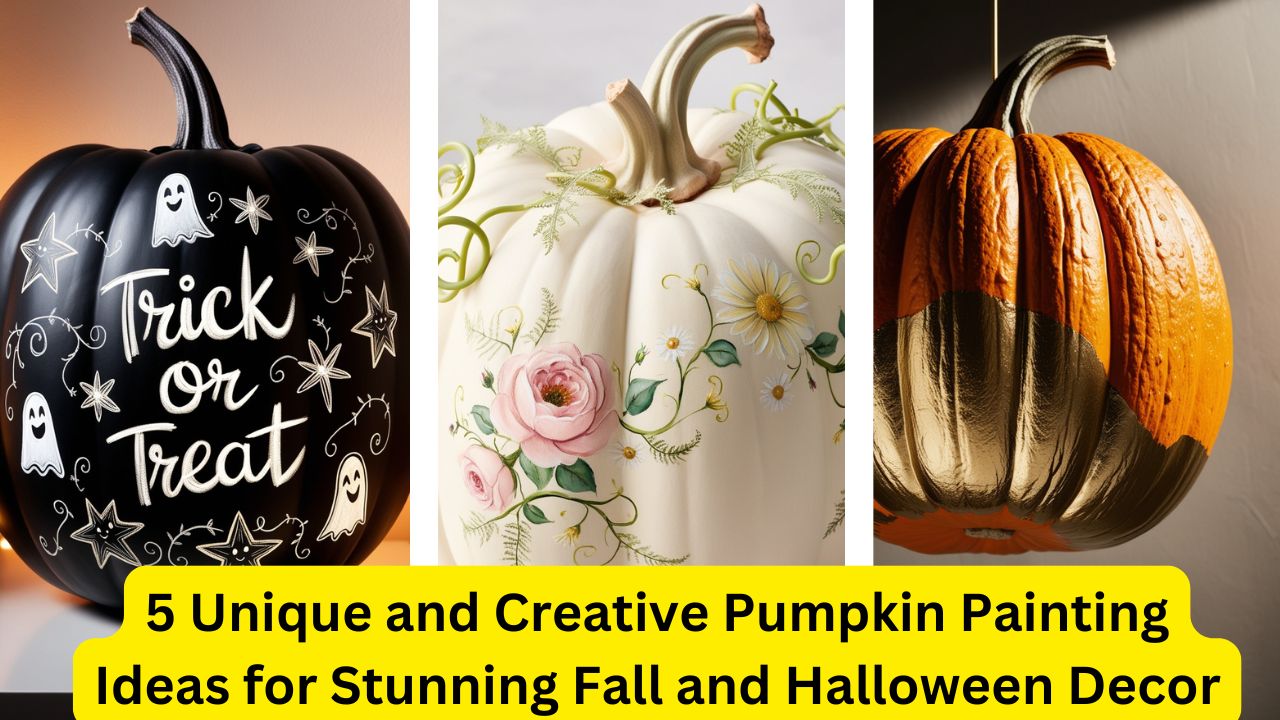
5 Unique and Creative Pumpkin Painting Ideas for Stunning Fall and Halloween Decor. Pumpkin painting is a fantastic way to decorate for fall and Halloween without the mess of carving. It allows for limitless creativity, making your pumpkins last longer and adding a personal touch to your decor. Whether you’re looking for elegant, spooky, or whimsical designs, these five pumpkin painting ideas will inspire you to get artistic this season.
Marbled Pumpkin: Elegant and Artistic
The marbled pumpkin is a show-stopping piece that can elevate your decor with its high-end, artistic appeal. The process uses simple materials but yields striking results. By swirling various colors together, you can create a beautiful marbled effect that feels modern yet natural.
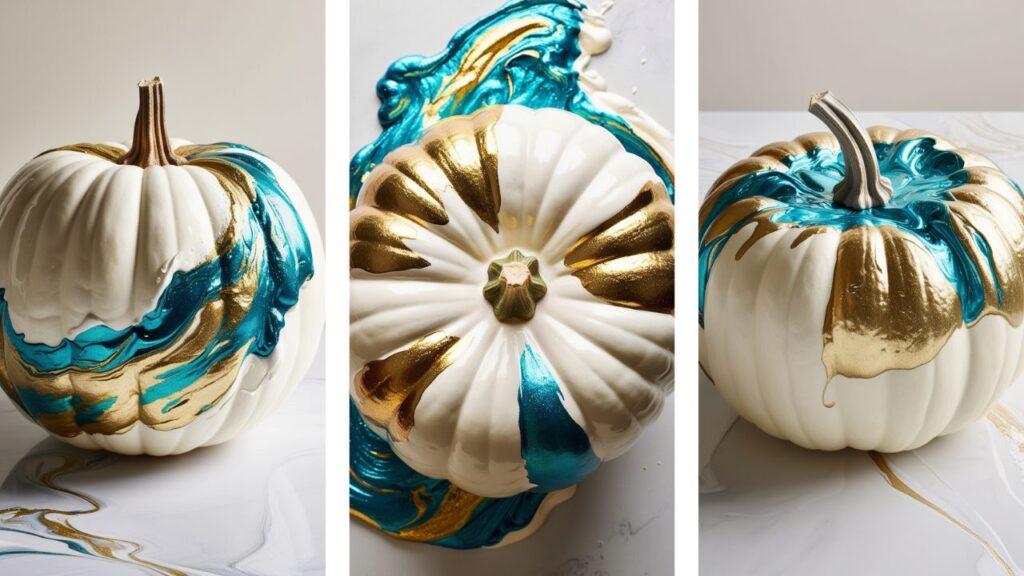
How to Create a Marbled Pumpkin:
Materials Needed: White pumpkin, acrylic paint (or nail polish), water, a large container.
Instructions:
- Fill a container large enough to submerge the pumpkin with water.
- Drip acrylic paint or nail polish in different colors onto the water’s surface. Swirl the colors gently using a toothpick or skewer.
- Carefully dip the pumpkin into the water, rolling it slowly to coat the surface in the swirling colors.
- Remove the pumpkin and let it dry completely.
This technique is versatile because you can choose any color combination to match your decor. For a sophisticated look, opt for metallic tones like gold and silver, or try pastel shades for a softer, more delicate appearance.
Metallic Dipped Pumpkin: Sleek and Chic
Metallic dipped pumpkins are perfect for adding a touch of glamour to your fall setup. The idea is to paint just the bottom portion of the pumpkin in a metallic color, giving the illusion that it’s been dipped in gold, silver, or copper. This style works well for minimalist, modern homes and can be displayed indoors or outdoors.
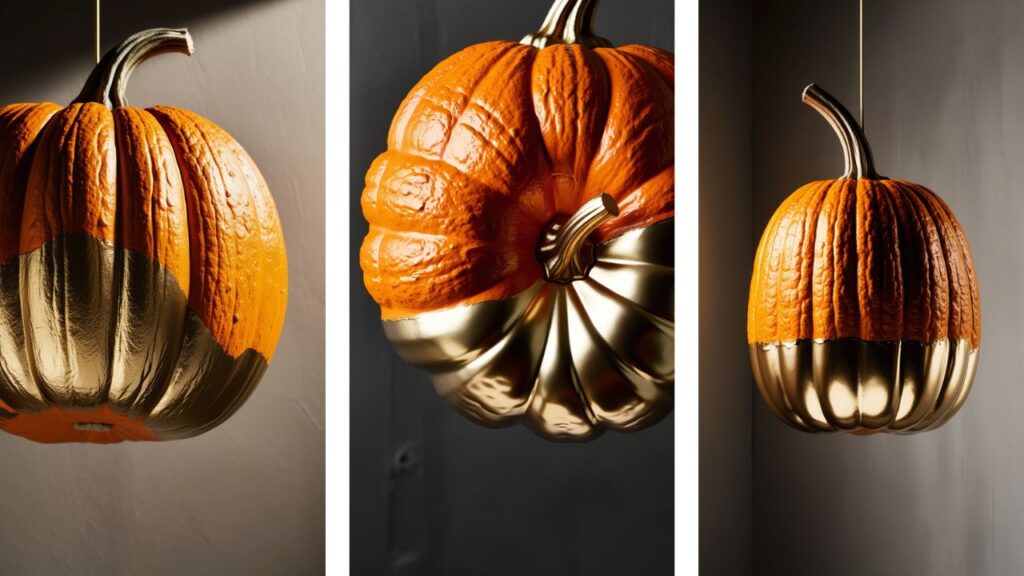
How to Create a Metallic Dipped Pumpkin:
Materials Needed: Pumpkin, metallic spray paint (gold, silver, copper), painter’s tape.
Instructions:
- Use painter’s tape to mask off the top half of the pumpkin.
- Spray paint the exposed bottom half with metallic paint, holding the spray can about 6-8 inches away for even coverage.
- Let the paint dry completely, then remove the tape for a sharp, clean line between the natural pumpkin and the metallic finish.
This pumpkin painting idea works well in pairs or groups. Place several metallic dipped pumpkins together in different sizes for a stunning display on your porch or fireplace mantle.
Floral Patterned Pumpkin: Romantic and Whimsical
If you want to bring a touch of charm and romance to your fall decor, a floral-patterned pumpkin is an excellent option. Instead of the traditional spooky themes, this design focuses on the beauty of nature. You can either hand-paint delicate flowers or use stencils to make the process easier, depending on your artistic confidence.
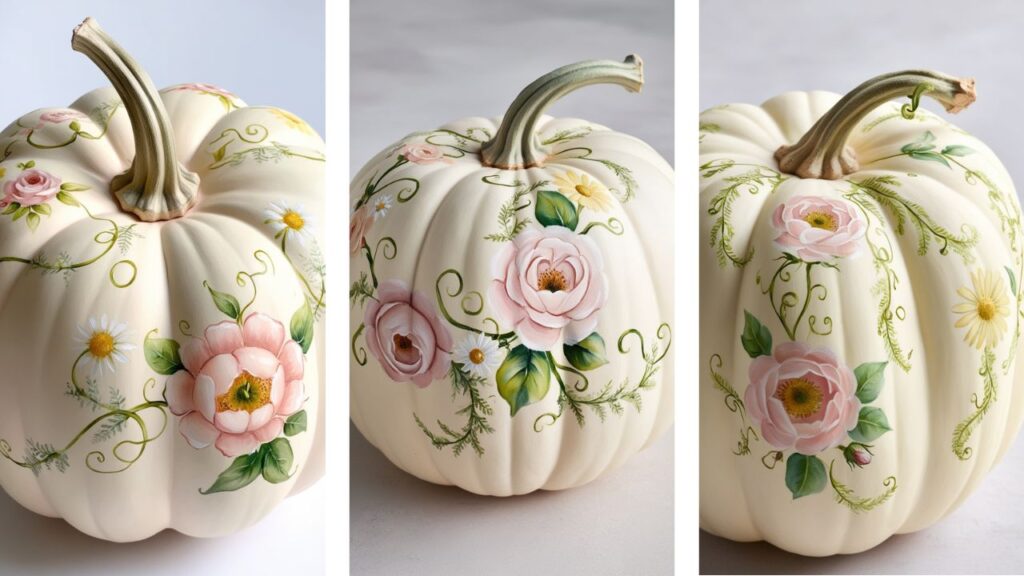
How to Create a Floral Patterned Pumpkin:
Materials Needed: Pumpkin (preferably a pastel color like white or pink), acrylic paint in soft colors, paintbrushes, or stencils.
Instructions:
- Clean the pumpkin’s surface and choose your color scheme. Light-colored pumpkins work best as a backdrop for floral designs.
- If freehand painting, use a small brush to paint flowers like roses, daisies, or sunflowers around the pumpkin. If using stencils, secure them with tape before painting over them.
- Once the flowers are painted, add details like leaves, vines, and accents using smaller brushes.
This design idea is ideal for indoor decorations and adds a feminine, elegant touch to any space. You can display these pumpkins on your dining table or a decorative shelf.
Abstract Geometric Pumpkin: Bold and Modern
For those who love bold patterns and colors, an abstract geometric pumpkin is the way to go. This design incorporates sharp lines, bright colors, and geometric shapes, making it perfect for contemporary home settings or those who want something a little different from the usual fall decor.
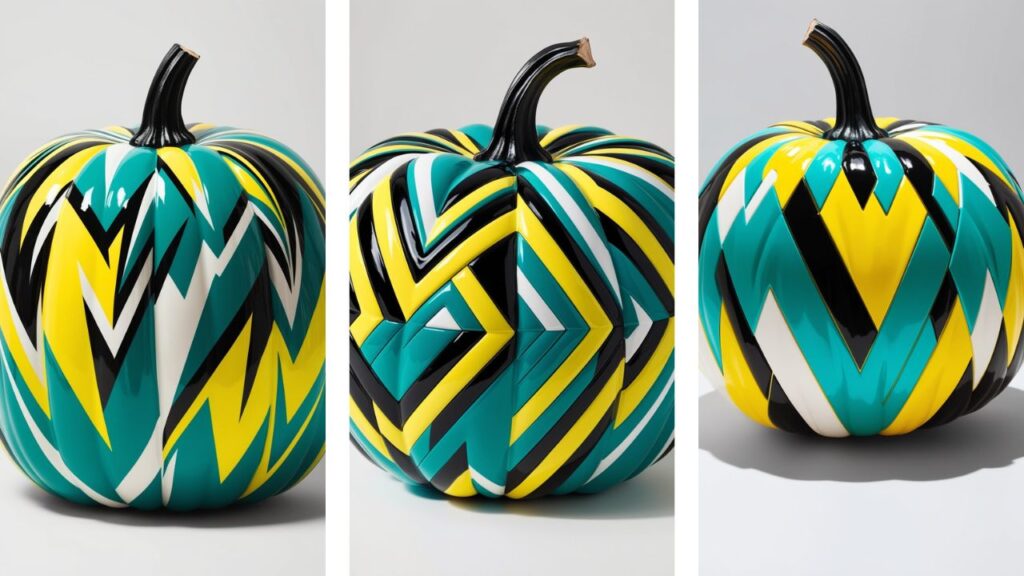
How to Create an Abstract Geometric Pumpkin:
Materials Needed: Pumpkin, acrylic paint in contrasting colors (e.g., black, white, yellow, teal), painter’s tape.
Instructions:
- Use painter’s tape to create geometric shapes like triangles, stripes, or zigzags on the pumpkin.
- Paint each section a different color, ensuring sharp contrast between adjacent areas for a bold look.
- Let the paint dry fully before removing the tape, revealing clean, defined shapes.
This idea allows for creative freedom, as you can experiment with various shapes, sizes, and colors to match your decor. A grouping of these pumpkins with different geometric designs can make a striking centerpiece.
Also Read: 5 Christmas Tree Ideas 2024 to Brighten Your Holiday Season
Chalkboard Message Pumpkin: Fun and Interactive:
A chalkboard pumpkin is a unique and interactive option for both adults and kids. This pumpkin is painted with chalkboard paint, allowing you to write and erase messages, drawings, or countdowns to Halloween or Thanksgiving. It’s an excellent idea for family homes, as everyone can participate in updating the pumpkin throughout the season.
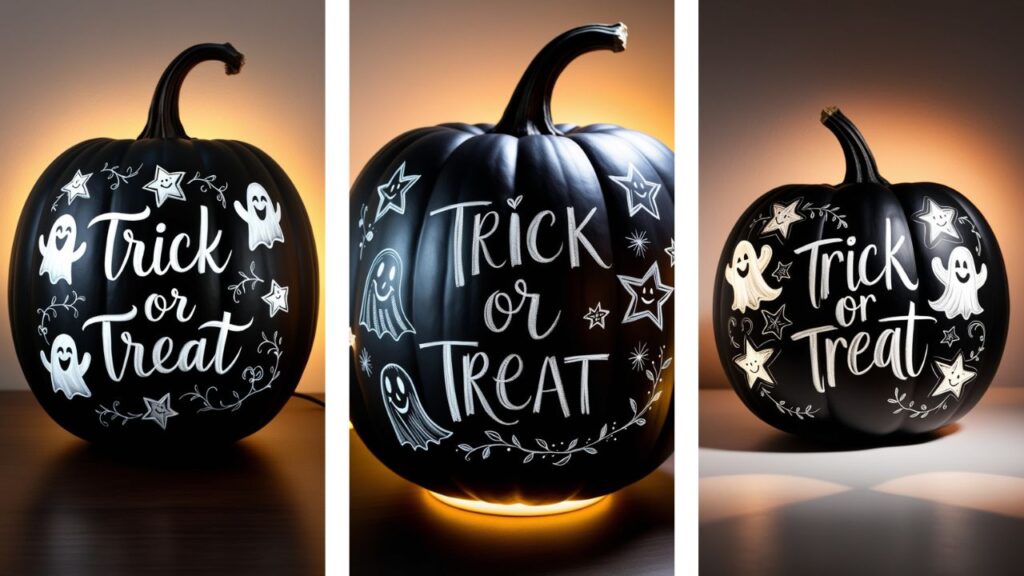
How to Create a Chalkboard Message Pumpkin:
Materials Needed: Pumpkin, chalkboard paint, foam brush, chalk.
Instructions:
- Paint the entire pumpkin with a layer of chalkboard paint using a foam brush. Make sure to cover it evenly.
- Allow the paint to dry completely, then apply a second coat for a smooth, durable surface.
- Once dry, use chalk to write messages, festive quotes, or even doodles like pumpkins, bats, or leaves.
Chalkboard pumpkins are not only creative but also practical. You can change the designs as often as you like, making it perfect for keeping your decor fresh and fun throughout the fall season.
Also Read: Top 5 Christmas Home Decor Ideas to Make Your Home Festive

